2026 Complete Guide to Korea eSIM vs SIM Card Pickup at Incheon Airport: Prices, Plans & Tips
Quick Info
- 📍 Area: Incheon International Airport (ICN), Seoul area
- 🕒 Best time: Book ahead during peak seasons (summer holidays, year-end/New Year) to avoid queues and sell-outs
- 💰 Budget: Issuance: eSIM ~2,750 KRW; SIM ~7,700–8,800 KRW (+ plan costs vary by country/days/data)
- 🚇 Getting there: Pickup at telecom counters/shops in terminals; eSIM activates via QR code anywhere with internet
- 👥 Best for: Travelers who want reliable data abroad, short trips, first-time Korea departures, dual-SIM users
- ✅ TL;DR: eSIM is usually cheaper and faster (QR activation). Physical SIM is better for non-eSIM phones or those who prefer a card—reserve early for Incheon pickup.
Before you dive in
If any part of this guide feels useful, take 10 seconds to bookmark it.
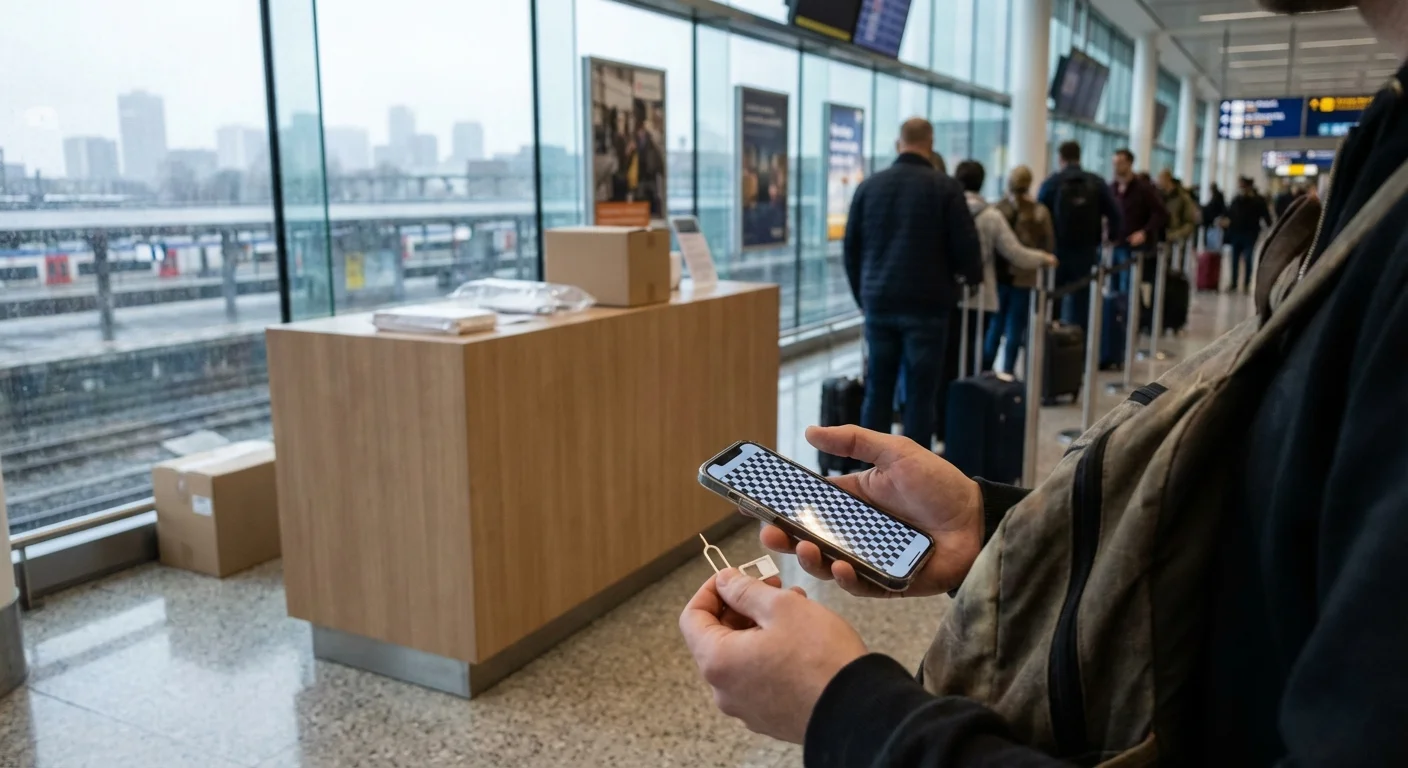
Landing at Incheon International Airport (ICN) after a long flight is not the moment you want to start troubleshooting connectivity. Whether you’re navigating to your hotel in Seoul, ordering a taxi, messaging your guesthouse host on KakaoTalk, or activating a transit app, having data immediately is the difference between a smooth arrival and a stressful one.
For most travelers, the choice comes down to two options:
- eSIM (activated digitally with a QR code—no physical card)
- Physical SIM (유심) you pick up at Incheon Airport (or buy on-site)
Both can be great. Both can go wrong if you pick the wrong plan, buy at the wrong time, or forget a key setting. This guide is designed to help you decide quickly and confidently—based on price trends, airport logistics, and common mistakes.
Complete Guide to 한국 eSIM/유심(인천공항 수령) 가격 비교 및 구매 가이드
If you’re traveling to Korea (or departing Korea to another country), you’ll see “eSIM” and “유심 (USIM)” everywhere. In Korean travel context, 유심 usually refers to a data SIM you insert into your phone. eSIM is a downloadable profile that lets your phone connect without swapping cards.
At a high level, here’s the decision framework:
- Choose eSIM if you want the fastest setup, don’t want to open your SIM tray, and your phone supports eSIM.
- Choose airport pickup SIM if you prefer a physical product, want staff help, or your phone doesn’t support eSIM.
What most people don’t realize is that the “best” choice depends on your arrival time, season, phone model, and whether you need voice calls vs data only. Prices also vary by plan type (daily data caps, unlimited with throttling, multi-country coverage).
This post breaks down:
- What’s actually different between eSIM and a physical SIM
- Typical 2025–2026 price tendencies (with ranges and check-points)
- Where to buy at Incheon Airport (and when not to)
- What to verify before you pay
- First-timer tips and a checklist to avoid the most common setup failures
As you read, keep one rule in mind: the cheapest plan is expensive if it doesn’t work the moment you need it—especially if you’re arriving late, tired, and relying on maps.
eSIM vs 유심: 차이점, 장단점, 추천 대상
What’s the difference?
- eSIM: No physical card. You typically receive a QR code and install a mobile data profile in your phone settings.
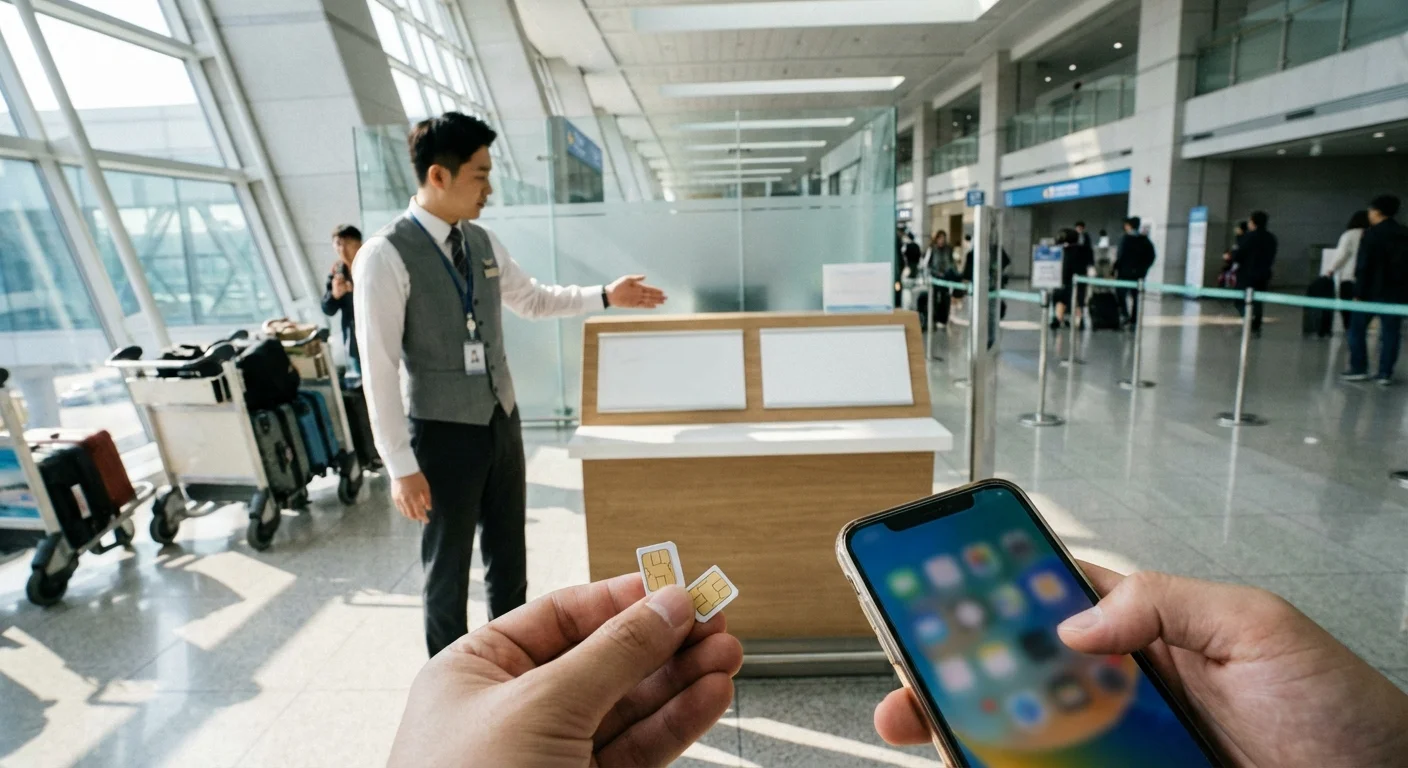
- 유심 (physical SIM): You insert a physical chip into your phone’s SIM tray.
eSIM: Pros
- Instant activation (often within minutes) if you have Wi‑Fi or a second connection.
- No SIM tray swapping, so you won’t lose your home SIM.
- Great for multi-country travel (you can store multiple eSIM profiles and switch).
- Often slightly cheaper in practice for similar data packages (based on the research summary trend).
eSIM: Cons
- Not all phones support eSIM. You must verify compatibility before purchase.
- Setup can be confusing if you’ve never installed an eSIM before.
- If your phone is locked to a carrier, eSIM may not work.
- If you don’t have Wi‑Fi at arrival and didn’t pre-install, activation can be inconvenient.
Physical SIM (유심): Pros
- Works on many phones, including some models without eSIM.
- Easier for travelers who want a tangible product and simple “swap and go.”
- At the airport, you may find staff who can assist with activation (varies by booth/store).
Physical SIM (유심): Cons
- You must open the SIM tray, which is where many people lose their home SIM.
- At Incheon, you may face lines, limited stock, or closed counters depending on arrival time and season.
- If you’re juggling luggage and documents, a tiny SIM card is easy to drop.
Who should choose what?
Choose eSIM if you are:
- Using an eSIM-capable phone and want the most convenient setup
- Arriving during peak season and want to avoid airport queues
- Planning to keep your home SIM active for OTP/banking texts (dual SIM with eSIM + physical SIM is ideal)
Choose physical SIM pickup at Incheon if you are:
- Not sure your device supports eSIM
- Uncomfortable with eSIM installation steps
- Want to buy in person and confirm basics with staff
- Arriving with no confidence you’ll have Wi‑Fi to activate an eSIM
If you’re still undecided: eSIM wins on convenience, while airport pickup SIM wins on familiarity—but only if you can purchase quickly without a long wait.
2025–2026 가격 비교: 발급 비용 + 국가별 요금제 예시(일본/유럽/미국)

Prices shift frequently with promotions, exchange rates, and seasonal travel demand. To stay accurate, this guide uses price ranges and labels anything not directly supported by the research summary as a typical range. Always check current prices right before you buy.
1) Domestic issuance fees (Korea): eSIM vs 유심
Based on the research summary, domestic issuance costs show a clear pattern:
- Physical USIM (유심) issuance fee: typically around ₩7,700–₩8,800 (supported by the summary; includes a higher tier for NFC-supported USIM).
- eSIM issuance fee: typically around ₩2,750 (supported by the summary).
As of 2026/2027, the key takeaway is: eSIM issuance tends to be cheaper than physical USIM issuance, even before you choose a travel plan.
2) International travel plan examples (trend-based)
The research summary provides examples from 2025 showing eSIM often comes in a bit lower for comparable daily data or unlimited plans. Because prices change, treat these as directional and check current prices.
Japan (7 days, 1GB/day style plan)
- Physical SIM: typically around ₩9,000–₩10,000 (supported by summary as ~₩9,500)
- eSIM: typically around ₩6,000–₩8,000 (supported by summary as ~₩6,900)
Europe (7 days, “unlimited” style plan)
- Physical SIM: typically around ₩25,000–₩30,000 (supported by summary as ~₩26,400)
- eSIM: typically around ₩20,000–₩25,000 (supported by summary as ~₩23,000)
USA (5 days, “unlimited” style plan)
- Physical SIM: typically around ₩20,000–₩30,000 (supported by summary as ~₩25,000)
- eSIM: typically around ₩18,000–₩25,000 (supported by summary as ~₩21,700)
3) What “unlimited” usually means (read this before buying)
Even when a plan says unlimited, it may include:
- Daily high-speed limit (then throttled)
- Fair usage policy (speed reduced after a threshold)
- Restrictions on hotspot/tethering
So when comparing deals, don’t compare “unlimited vs unlimited” at face value—compare:
- How much high-speed data per day
- Throttled speed after limit
- Whether tethering is allowed
- Whether it includes voice/SMS or is data-only
4) Budget expectations (ranges, as of 2026/2027)
These are typical ranges for travelers and should be used as planning estimates—check current prices:
- Budget travelers: ₩10,000–₩25,000 (short trip, capped daily data, data-only)
- Mid-range: ₩25,000–₩50,000 (longer trip or “unlimited” with throttling)
- Heavy data / multi-country: ₩50,000–₩90,000 (typical range; depends heavily on regions and policy)
In many cases, eSIM is slightly cheaper, but your final cost depends more on plan type than the format.
Where to Get It at Incheon Airport: 카운터/편의점/자판기 vs 온라인 사전구매
Incheon gives you multiple ways to get connected—but they’re not equal in speed, selection, and stress.
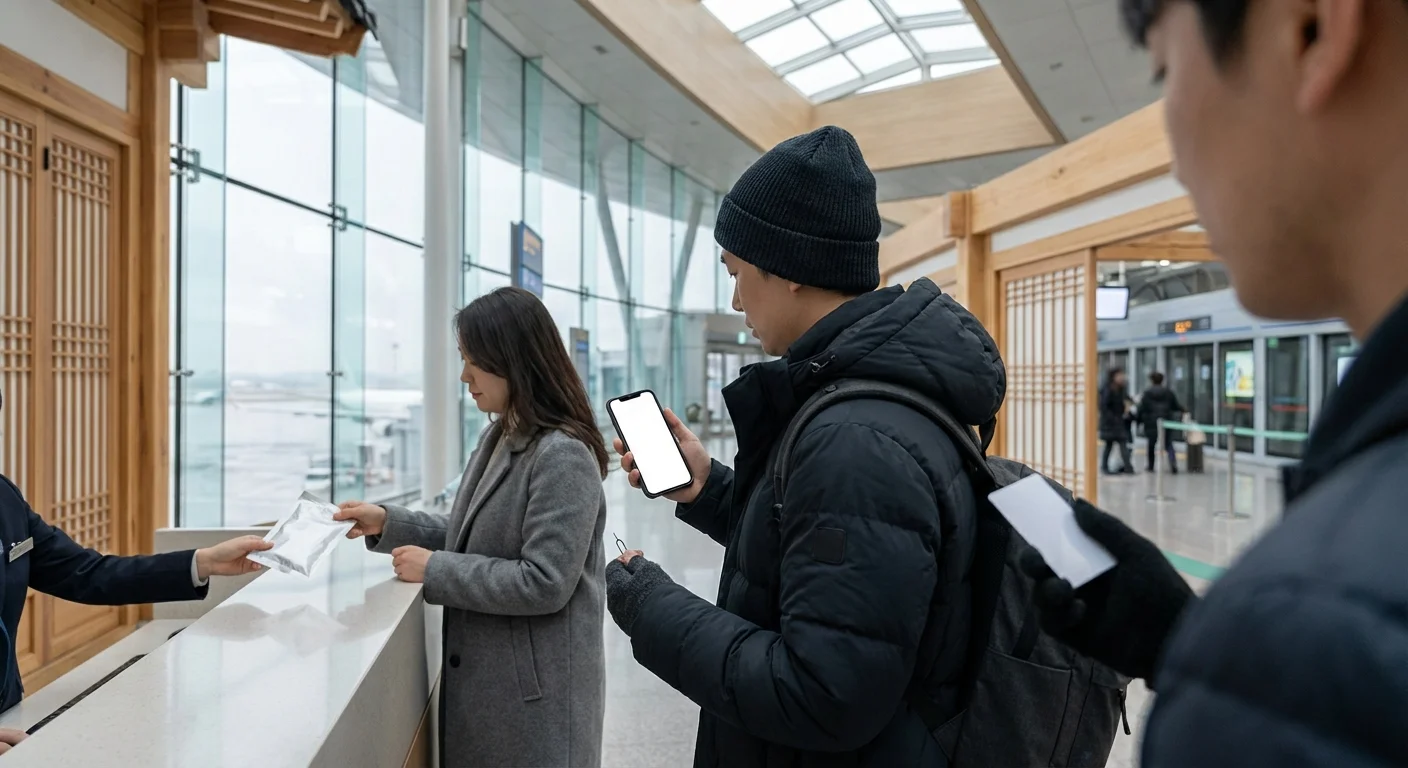
Option A: Airport telecom counters (in-person)
Pros
- You can ask questions and sometimes get help with activation.
- Good for travelers who want reassurance.
Cons
- Lines can be long, especially during peak arrival banks.
- You may find limited plan options compared to online.
- Counter hours may not match your arrival (late-night arrivals should double-check).
Best for
- First-time visitors who want support
- Travelers who need help inserting a SIM or changing APN settings
Option B: Convenience stores inside the airport
Pros
- Often faster than telecom counters.
- Useful if you just need a basic SIM quickly.
Cons
- Staff may not provide detailed setup help.
- Plan variety and stock may be limited during busy seasons.
Best for
- Confident travelers who can self-activate
- People arriving during counter rush times
Option C: Vending machines (자판기) (availability varies)
Pros
- Potentially the fastest, no human interaction.
- Useful when counters are closed.
Cons
- Instructions may be minimal.
- Not ideal if you’re unsure about compatibility or activation steps.
Best for
- Experienced travelers who know exactly what they need
Option D: Online purchase + airport pickup (recommended for peak season)
Pros
- You secure your plan in advance and reduce time spent in arrivals.
- Less risk of your preferred plan being out of stock.
- Easier to compare deals calmly before your flight—especially if you “compare plans” across data caps and duration.
Cons
- You must follow pickup instructions and time windows.
- If you miss pickup, you may need customer service support (policies vary).
Best for
- Summer holidays, year-end, and any period when you expect crowds
- Anyone who values a predictable arrival flow
Option E: Online eSIM (no pickup at all)
Pros
- No airport stop required.
- You can install before you fly and land connected.
Cons
- You must confirm eSIM compatibility and understand installation steps.
- You still need internet for installation (so do it before departure).
Best for
- Travelers who want the simplest airport experience
- People arriving late at night or during heavy congestion
If you care about speed: online eSIM is usually the fastest path to being connected, followed by online purchase + pickup, then airport counters during busy times.
What to Know Before You Go: 호환성, 개통 타이밍, 여권/본인확인, 환불·변경
A little preparation prevents 90% of the “my data doesn’t work” scenarios.
1) Device compatibility (especially for eSIM)
The research summary notes that eSIM support is not universal and gives examples like iPhone XS and newer and Galaxy S20 and newer as common eSIM-capable lines. Still:
- Confirm your exact model supports eSIM
- Confirm your phone is unlocked
- Check whether your phone supports dual SIM (eSIM + physical SIM) if you want to keep your home number active
If you’re not sure, physical SIM is safer—but eSIM is excellent when compatible.
2) Activation timing: when should you activate?
eSIM
- Best practice: install and configure before departure (on stable Wi‑Fi).
- Some eSIMs start counting “days” only after first connection in the destination; others begin at installation. Because policies vary, read the activation rules and check current terms before scanning the QR code.
Physical SIM
- You can activate at the airport, but allow extra time.
- After inserting the SIM, you may need to restart your phone and confirm mobile data settings.
3) Passport / identity verification (본인확인)
Depending on the product (and whether it includes voice number), you may be asked for:
- Passport details
- Basic identity verification steps
This can be straightforward, but it takes time—another reason to avoid last-minute purchases during peak arrivals.
4) Refunds, changes, and “unused” plans
Policies vary widely:
- Some eSIMs cannot be refunded after QR code delivery.
- Some pickup orders can be modified only before a cutoff time.
- Some products treat “installed” as “used,” even if you didn’t travel.
Before you buy, look for:
- Refund eligibility window
- What counts as “activated”
- How to contact support if the QR code fails or the SIM is defective
If you’re comparing deals, don’t just compare price—compare refund and change flexibility too.
Tips for First-Time Visitors: 공항 대기 줄 피하는 법, 성수기 재고 팁, 세팅 체크리스트
How to avoid airport lines (practical strategy)
- Pre-buy online (either eSIM or pickup) if arriving in summer or during year-end holidays.
- If you must buy on-site, try to arrive with a plan: know whether you need data-only or data+voice and your expected days.
- Consider the order of operations: immigration → baggage → currency/transport → SIM. If you have eSIM installed already, you can skip a whole step.
Peak season (성수기) stock tips
The research summary warns that peak seasons can bring long waits and potential stock shortages at the airport. To reduce risk:
- Reserve in advance (pickup or eSIM)
- Have a backup plan (e.g., a second eSIM option saved, or ensure you can use airport Wi‑Fi temporarily)
- If traveling in a group, don’t assume everyone can use the same solution—some phones may not support eSIM
Quick setup checklist (do this before you fly)
For eSIM
- Confirm phone is unlocked
- Update iOS/Android (older versions can be glitchy with eSIM installs)
- Screenshot or save your QR code details securely
- Decide whether you’ll keep your home SIM active (dual SIM settings)
- Know where to find: Settings → Cellular/Mobile Data → eSIM → “Turn on this line”
For physical SIM
- Bring a SIM pin (or something similar)
- Plan where you’ll store your home SIM (a small envelope or SIM holder)
- Know how to set mobile data to the new SIM line
- Be ready to restart your phone after insertion
Common “I arrived but have no data” fixes (fast)
- Toggle Airplane mode on/off
- Restart phone
- Ensure the correct line is selected for Mobile Data
- Turn Data Roaming ON for the travel eSIM/SIM if required by the plan
- Check if an APN must be set (more common for physical SIMs)
If you want the smoothest experience, set up eSIM before departure and do a quick “line ready” check while you still have stable Wi‑Fi.
실수 방지 체크: 유심 보관, 로밍/데이터 설정, 핫스팟/테더링, 문제 발생 시 대응
This section is the “save your trip” list—based on the most frequent problems travelers run into.
1) Don’t lose your home SIM (유심 보관)
If you swap in a physical SIM at the airport:
- Put your home SIM in a dedicated case/wallet slot
- Never place it loose in a pocket (it’s easy to drop without noticing)
- If you’re traveling for more than a week, label it (especially if multiple people are swapping SIMs)
Losing your home SIM can cause bigger issues later (bank verification codes, account recovery, etc.).
2) Roaming and data settings: set the right line
On dual-SIM phones, the most common mistake is using the wrong line for data.
Check:
- Mobile Data is assigned to the Korea eSIM/SIM
- Your home line has data turned off (to avoid unintended roaming fees)
- If your plan requires it, turn Data Roaming ON for the travel line (some plans need this, some don’t—follow the provider instructions)
3) Hotspot/tethering: verify before you rely on it
If you plan to work remotely, share data with a travel partner, or connect a laptop:
- Confirm whether the plan allows hotspot/tethering
- Some “unlimited” plans throttle hotspot heavily or restrict it entirely
If hotspot matters, compare deals based on tethering policy—not just headline data.
4) If something goes wrong: what to do on the spot
- Connect to Incheon Airport Wi‑Fi and re-check installation steps or activation instructions
- Re-scan QR code only if the provider instructs you to (many eSIMs are one-time install)
- Take screenshots of error messages (useful for support)
- If you bought pickup SIM, return to the counter/store promptly—solving it immediately is easier than after you’ve left the airport
5) A simple fallback plan that prevents panic
Even if you plan to use a SIM/eSIM, prepare one backup:
- Ensure you can access airport Wi‑Fi
- Download offline maps for Seoul/your destination
- Save your hotel address in Korean
- Keep one alternate plan option in mind (another eSIM product, or buying at a convenience store)
That way, even if activation takes 20 minutes, your arrival doesn’t fall apart.
Getting connected in Korea can be effortless if you pick the right option for your phone and schedule, compare plan terms (not just the headline price), and do a quick pre-departure setup so you can land at Incheon ready to explore with confidence.
FAQ
Q: Should I choose eSIM or a physical SIM card for travel from Korea?
Choose eSIM if your phone supports it and you want instant QR activation and easier switching. Choose a physical SIM if your device doesn’t support eSIM or you prefer a removable card.
Q: Do I need to pre-book an Incheon Airport SIM pickup?
It’s recommended in peak seasons to avoid long waits and stock issues. Pre-booking also helps you secure the exact plan and pickup time.
Q: How do I check if my phone supports eSIM?
Common examples: iPhone XS or newer; Galaxy S20 or newer (varies by region/model). Confirm in your phone settings or the manufacturer spec sheet before buying.
Q: Can I activate eSIM before I fly and use it immediately on arrival?
Yes—many travelers install the eSIM in advance and turn it on at the destination. Confirm when the plan’s validity starts (installation vs first connection) in the product terms.
Q: Are “unlimited” data plans truly unlimited?
Often they include a high-speed daily allowance and then throttle speeds after a limit. Always check daily caps, fair-use policy, and hotspot/tethering rules.
What you can do next
Pick just one action from this guide and do it today—small steps add up.